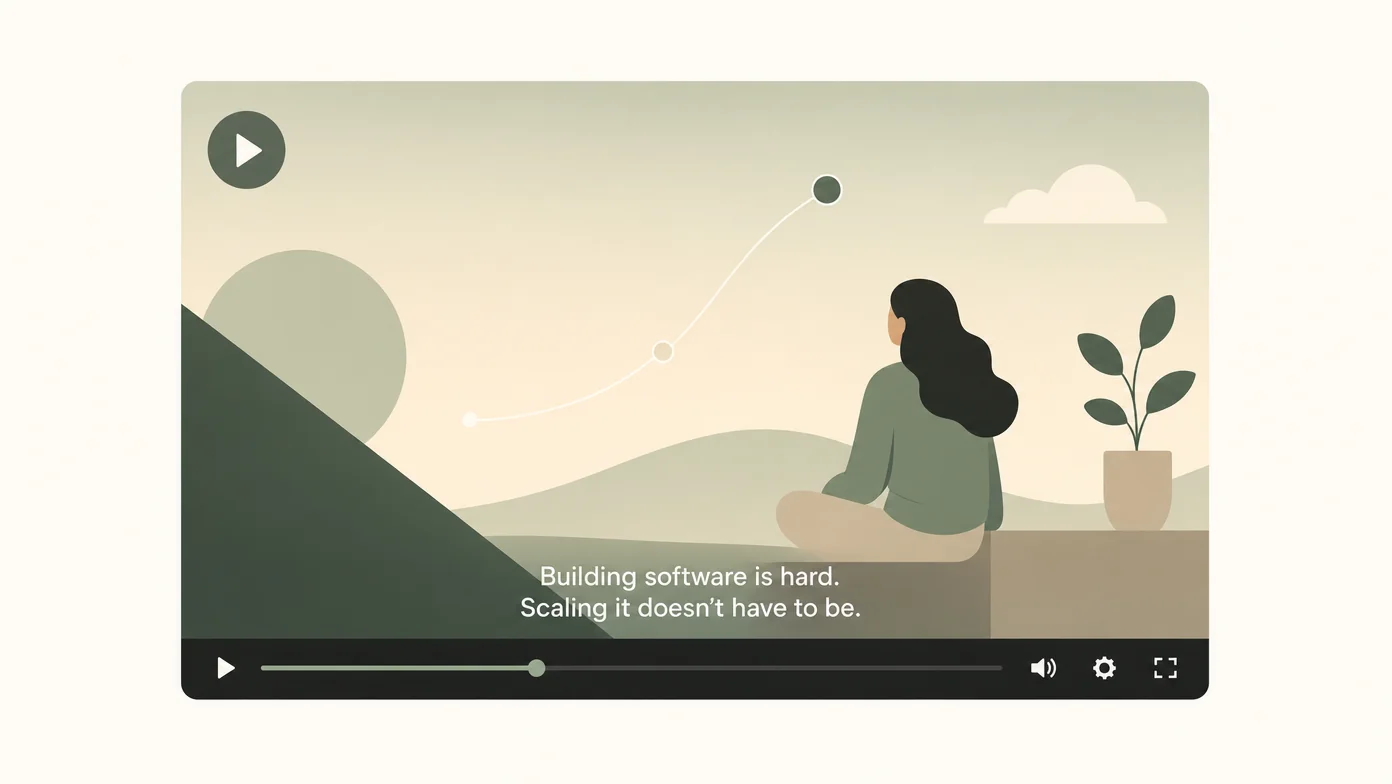
To add subtitles to a video, you generate or type the text, sync it to the speech, check it, and then either burn it into the picture or export it as a subtitle file (usually SRT) that the player shows on request. Most tools now generate the first draft automatically from the audio; your job is to correct names and numbers and choose the right output for where the video is going.
This guide starts with that output decision, then gives the exact steps in the tools people use most: an AI editor, YouTube Studio, CapCut, Premiere Pro, DaVinci Resolve and the iPhone. Menu paths were checked against each vendor’s help pages on November 4, 2026.
Key Takeaways
- Decide the output first. Burned-in subtitles are part of the picture and always visible; a subtitle file (SRT) can be switched on and off, corrected and translated without re-exporting.
- YouTube, Premiere Pro, DaVinci Resolve and CapCut on web and desktop accept SRT files. Instagram, Edits and TikTok don’t document SRT uploads, so burn subtitles in or use their own caption tools.
- Automatic captions are a draft. Always check names, numbers, technical terms and line breaks before you publish.
- For free: YouTube Studio’s automatic captions, CapCut’s auto captions, DaVinci Resolve’s free version (manual or SRT import) and ChatCut’s free plan all work without paying.
Step 1: Choose Burned-In Subtitles or a Subtitle File
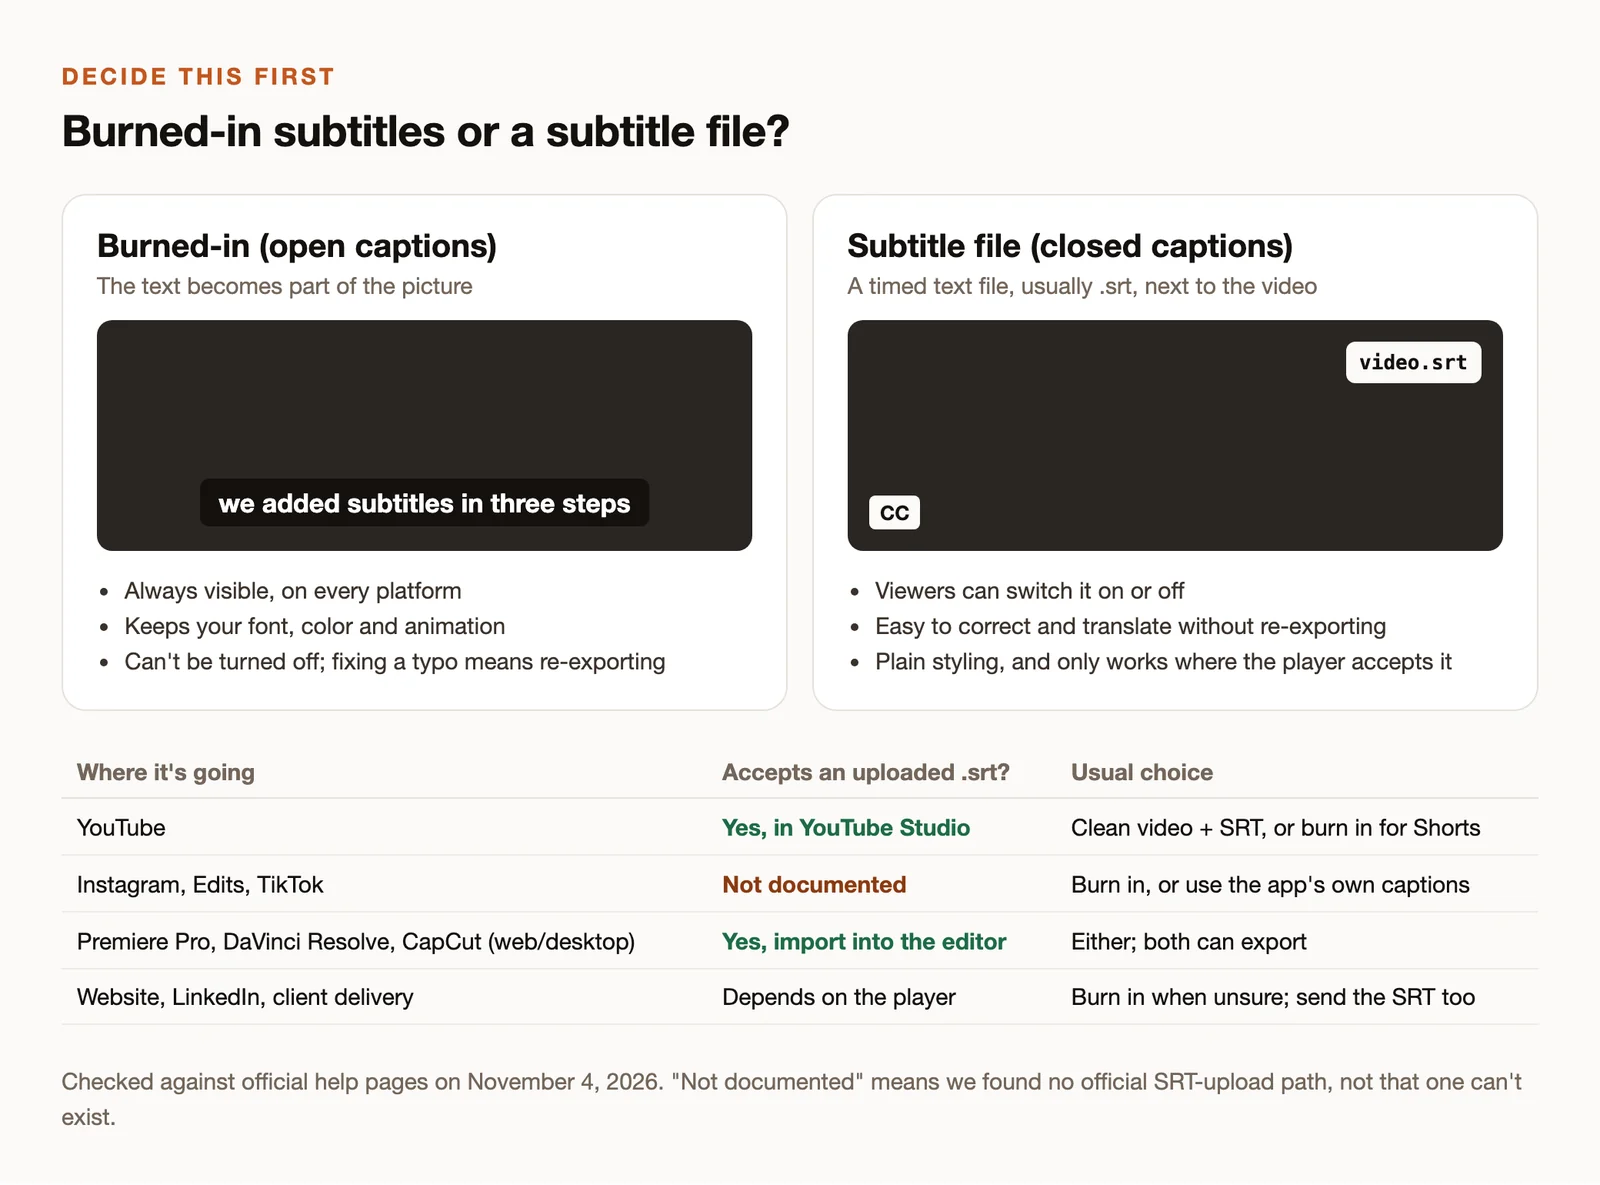
Burned-in subtitles (also called open captions or hardcoded subtitles) are rendered into the video frames. They look the same everywhere, keep your font and animation, and can’t be turned off. This is the norm for Reels, TikTok and Shorts, where styled captions are part of the look.
A subtitle file (closed captions) is a separate text file with timings. SRT is the most widely supported format. The player shows it when the viewer turns captions on, and you can fix a typo or add a translation without exporting the video again. An SRT file is plain text:
1
00:00:01,000 --> 00:00:03,200
Welcome back to the channel.

2
00:00:03,400 --> 00:00:06,000
Today we're adding subtitles in three steps.
Each cue has a number, a start and end time (hours:minutes:seconds,milliseconds), the text, and a blank line. Basic SRT doesn’t carry styling: colors, fonts and animation only survive when subtitles are burned in.
If you’re unsure, do both: export one video with subtitles burned in for social platforms, and keep the SRT for YouTube, your website player and anyone who needs to translate or edit the text later.
Step 2: Add Subtitles in the Tool You Use
In an AI video editor (ChatCut)
ChatCut transcribes speech automatically and keeps the captions editable on the timeline, so you can correct them, restyle them and export either output from the same project. It runs as a desktop app for macOS and Windows and as a web app.
- Import your video and let transcription finish. Captions follow the active audio source, so pick the right track if your project has several.
- Turn captions on with the split Captions control below the Viewer, then open the Caption style menu and choose a style such as Plain, Netflix or TikTok Pop. Hover a style to preview it on your own captions.
- Correct the text. Edit words in the caption card or search and replace in the Content panel. Fixing a word’s spelling doesn’t change the cut; deleting words in the transcript does cut the video, so use the right control.
- Style single words if you want emphasis: select words in a caption card to change their color, background, size or stroke. Save a look you like with Save current style… to reuse it later.
- Export. Export → Video renders the visible captions into the picture. Export → Subtitles → SubRip (.srt) saves the timed text as a separate file (plain text is also available).
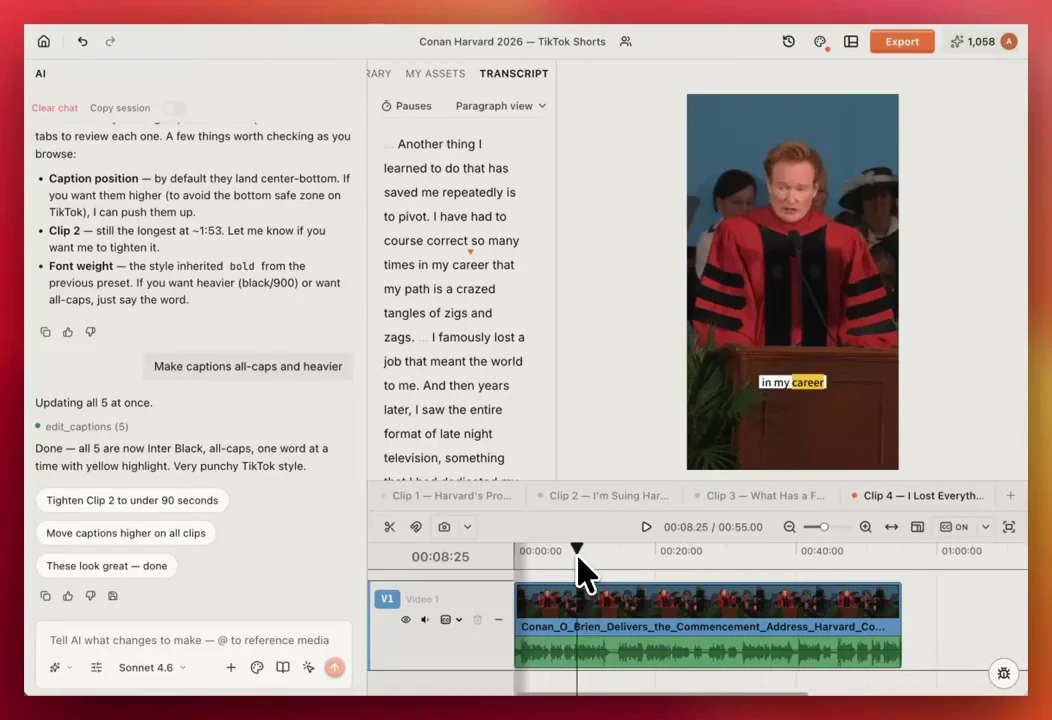
You can also ask the agent to do it:
To translate subtitles, open the right side of the Captions control, choose Translate captions and a language. The translation appears as its own caption source that you can show, style and export separately from the original. See the captions guide and export guide for details.
On YouTube (automatic captions and SRT upload)
YouTube generates automatic captions for supported languages after you upload. To review them, open YouTube Studio → Subtitles, pick the video, and in the Subtitles column select More next to the automatic track to edit errors. Automatic captions may not appear when the audio is poor, people talk over each other, or the language isn’t supported (YouTube help).
To upload your own SRT file:
- In YouTube Studio, select Subtitles, then the video.
- Select ADD LANGUAGE and choose the language.
- Under Subtitles, select ADD, then Upload file.
- Choose With timing, select Continue, pick your SRT file and select Save.
Save the SRT as plain UTF-8 text. YouTube ignores styling inside SRT files (upload help).
In CapCut (web, desktop and mobile)
CapCut’s automatic captions live in the same place on every version (CapCut help):
- Web: Captions → Auto Captions → Recognise → choose the language → Generate.
- Desktop: Captions → Auto Captions → choose the audio source and language → Generate.
- Mobile: New project → import the video → Captions → Auto Captions → choose the language → Generate.
Correct individual caption blocks afterward. To bring in an existing SRT, use Captions on the web or Captions → Add Captions on desktop; the mobile app doesn’t import subtitle files directly (import help). Exporting the video and exporting captions as SRT or TXT are separate steps.
In Premiere Pro
- Open Window → Text, then in the Transcript menu choose Generate static transcript, set the language and audio, and select Transcribe.
- Switch to Window → Workspaces → Captions and Graphics, open Captions, and choose Create captions from transcript. Adjust the settings and select Create captions.
- When exporting, the Captions section of the Export workspace lets you burn captions into the video or create a separate sidecar file such as SRT (Adobe export help).
Premiere’s speech-to-text supports a specific list of languages; check Adobe’s language page before you rely on it. You can also import an SRT file into the project and drop it on the timeline.
In DaVinci Resolve (free and Studio)
In the free version of DaVinci Resolve you can add subtitles by hand or import a file:
- By hand: right-click a track header and choose Add Subtitle Track, then in the Inspector use Captions → Create Caption and Add New for each following line.
- From an SRT: right-click in the Media Pool, choose Import Subtitle, select the file, and drag it above your video tracks.
Automatic subtitles from speech, Timeline → Create Subtitles from Audio, need the paid DaVinci Resolve Studio (Blackmagic feature list). On the Deliver page, choose Burn into video or export the subtitles as a separate file in SRT format.
On iPhone
The iPhone has no built-in automatic subtitles for videos in Photos. The caption field in a photo’s Info panel is searchable metadata, not on-screen text (Apple help). Your options:
- iMovie: tap a clip on the timeline, choose Titles, pick a style, tap the sample text and type. This works for a few lines of on-screen text, not full subtitles.
- Clips: if you already have Apple’s Clips app, its Live Titles add animated captions as you speak. Apple stopped offering Clips to new users in October 2025 (Apple notice).
- A captioning app such as CapCut or Edits, which generate captions from the audio.
On Instagram, Edits and TikTok
Instagram, Meta’s Edits app and TikTok all offer captions inside their apps, and their menus change often, so follow each app’s current help page rather than an old screenshot. None of them documents uploading an SRT file. If you edited elsewhere, burn the subtitles in before you upload, and keep important text away from the bottom and right edges, where the app’s buttons and descriptions sit.
Step 3: Check Before You Publish
Automatic captions are good drafts and bad final copies. Watch the whole video once with captions on and check:
- Names, brands and technical terms, which speech recognition gets wrong most often.
- Numbers, dates and prices. One wrong digit changes the meaning.
- Timing. Each line should appear with the words it shows and stay long enough to read.
- Line length. Two short lines are easier to read than one long one, especially on a phone.
- Placement. Captions shouldn’t cover faces, on-screen text or a platform’s buttons.
- Speakers and sounds. For accessibility, identify speakers when it isn’t obvious and note meaningful sounds like [laughter] or [music].
Make Subtitles Easier to Read
- Use high contrast: white or yellow text with a dark outline or a semi-transparent box.
- Keep the font large enough to read on a phone held at arm’s length.
- For vertical video, place captions in the middle third rather than at the very bottom.
- Use word-by-word highlighting sparingly. It helps fast-paced social clips and distracts in long interviews.
- Stay consistent: one style per video, and the same style across a series.